Uncover the best popcorn ceiling removal tool for a hassle-free process.
If you’re looking to remove a popcorn ceiling, having the right tool can make the process much easier and more efficient. At Textures Pro, we understand the importance of using high-quality equipment to achieve the best results. In this article, we will discuss the best tool for removing a popcorn ceiling and provide you with a step-by-step guide on how to use it effectively.
What Is a Popcorn Ceiling Removal Tool?
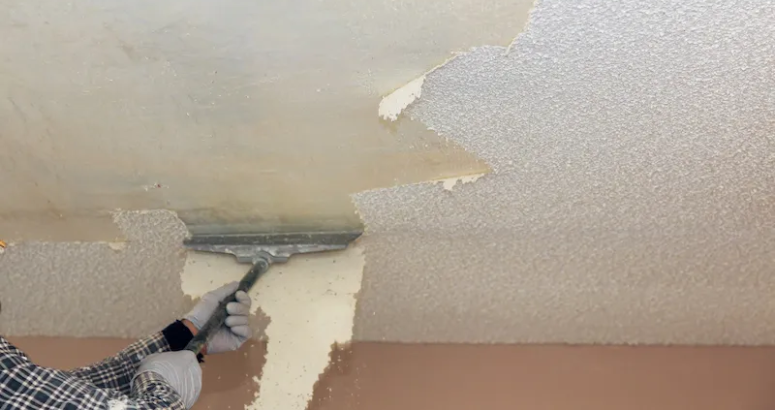
A popcorn ceiling removal tool is specifically designed to help you scrape off the textured surface of a popcorn ceiling. The primary tool used for this task is a popcorn ceiling scraper. This tool typically features a long handle with a wide, flat blade at the end. The blade is angled to allow for optimal scraping of the textured material without damaging the underlying ceiling.
How to Use a Popcorn Ceiling Removal Tool
A popcorn ceiling removal tool is specifically designed to help you scrape off the textured surface of a popcorn ceiling. The primary tool used for this task is a popcorn ceiling scraper. This tool typically features a long handle with a wide, flat blade at the end. The blade is angled to allow for optimal scraping of the textured material without damaging the underlying ceiling.
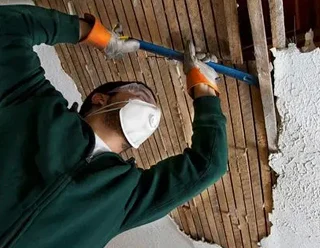
Before you begin the popcorn ceiling removal process, it’s essential to take the necessary safety precautions. Ensure you wear protective goggles, a dust mask, and cover any furniture or flooring in the area. Once you’re ready, follow these steps:
Prep the room:
Remove any furniture, light fixtures, or ceiling fans from the area. Cover the floor with plastic sheets or drop cloths to catch the falling debris.
Test for asbestos:
If your home was built before the late 1970s, it’s crucial to test the popcorn ceiling for asbestos before removal. Contact a professional asbestos testing service to ensure your safety.
Moisten the ceiling:
Use a spray bottle filled with water to dampen a small section of the popcorn ceiling. This helps soften the texture and make it easier to remove.
Scrape the ceiling:
Hold the popcorn ceiling scraper at a slight angle and gently scrape the textured material off the ceiling. Work in small sections and be careful not to apply excessive pressure to avoid damaging the ceiling surface.
Dispose of the debris:
Collect the scraped-off material in a trash bag or a bucket. Be sure to seal the bag tightly to prevent the release of dust particles.
Clean the ceiling:
After removing the popcorn texture, use a damp cloth or sponge to wipe down the ceiling and remove any remaining residue.
Inspect and repair:
Once the ceiling is clean, inspect it for any imperfections or damage. Repair any cracks or holes with a suitable patching compound and allow it to dry completely.
Safety Considerations
Removing a popcorn ceiling can release dust particles and potentially harmful substances, so it’s crucial to prioritize safety throughout the process. Here are some important safety considerations to keep in mind:
- Asbestos testing
- Personal protective equipment (PPE)
- Ventilation
- Proper disposal
Removing a popcorn ceiling can be a daunting and labor-intensive endeavor. It requires a significant amount of time, effort, and expertise to achieve the desired results. That’s why savvy homeowners in Miami and the surrounding areas choose to entrust this challenging task to the skilled professionals at Textures Pro.
At Textures Pro, we have a team of highly experienced experts who specialize in popcorn ceiling removal.
Give your home a fresh new look!
Tired of the popcorn ceiling in your home? Let our expert team remove it for you!


