While popcorn ceiling used to be in style back in the 60’s and 70’s, over the decades, it has become dated. Now most homeowners choose to replace it with brand new, smooth ceilings. So, if you’re looking forward to upgrading your interiors, removing it is the best choice. It is, however, a daunting task that might take some time. But with our 4 tips on how to remove popcorn ceilings, the process will become way easier.
Test for asbestos
As we mentioned before, popcorn ceilings were trendy once upon a time. Unfortunately, during these decades, asbestos was also a popular chemical included in most textured ceiling sprays, up until 1977 when authorities banned its use. Which means that most popcorn ceilings built before the 80’s present the threat of containing this harmful chemical.
So whenever you’re searching ways on how to remove popcorn ceilings, the first thing you have to do is test for asbestos. Even if the results come up with 1%, leaving the job at hands of professionals is the right call.
Experts in the industry, such as TexturesPro, will know exactly what to do to keep you and your family safe, while finishing the task on time and within budget.
Gather your tools
Diying is a fun experience, but when it comes to how to remove popcorn ceilings, getting the right materials is essential to ensure good results. So here’s TexturesPro very own list of removal tools you will need to replace your textured ceiling:
- A ladder: It’ll help you reach the ceiling and corners, without putting you or your furniture at risk.
- Plastic drop cloths: Protect your belongings by covering everything with a tarp. If you have painter’s tape, secure your walls and furniture with it.
- Plastic drop cloths: Protect your belongings by covering everything with a tarp. If you have painter’s tape, secure your walls and furniture with it.
- Ceiling tiles, or paint: Once you’ve gotten rid of your popcorn ceiling, you can add your own touch to your home. Whether you paint it or choose an alternative, easier route like glue-on tiles, it’s up to you!
Start removing
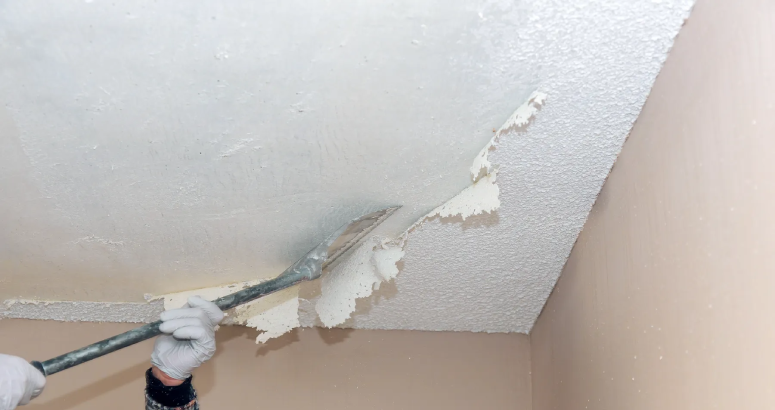
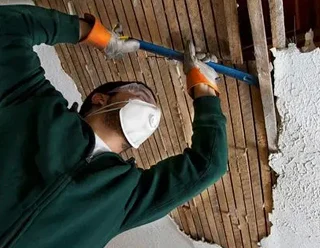
Continuing with our tips on how to remove popcorn ceilings, once you’ve prepped your space, it’s time to scrape everything off. But first, we recommend wetting the ceiling with a sprayer. Misting it and waiting for around 15 to 20 minutes will soften the material, making the job easier. You can repeat this step once again if the texture is still difficult to remove. Working in small sections will also help the process, and rounding the corners of the scraper will prevent gouging. Once you’re done, you can skim coat any rough surfaces that may be left.
Know when to call a specialist
The final tip of our list on how to remove popcorn ceilings is always knowing when it’s best to call a professional. The presence of asbestos is the most important reason to leave the job to TexturesPro. But painted popcorn is also a good cause. In this last case, you can tell your textured ceiling has paint if it doesn’t soften after misting it a couple of times. And while you can continue the job of removing it, it’ll be a tougher process to finish on your own.
Fix your ceiling now!
The task of replacing your outdated ceiling is lengthy, but with our 4 tips on how to remove popcorn ceilings, you can make the job so much better. Or, you can schedule your service with TexturesPro and replace it in the blink of an eye!
Give your home a fresh new look!
Tired of the popcorn ceiling in your home? Let our expert team remove it for you!


