Painting your popcorn ceiling is an easy, quick, cost-effective temporary fix. Here we tell you all you need to know on how to paint a popcorn ceiling
How much paint do you need?
These are the recommendations from experts in the industry, such as Textures Pro. Acrylic-latex paint works perfectly fine for this textured surface, but you can also go for flat or matte paint for a better finish. Or, in case you want to protect your ceiling from moisture, semi-gloss paint is great for the job, too.
Now, remember that popcorn ceilings are not flat surfaces like smooth ceilings. That means you’ll need the double amount of paint for textured ceilings. So if a gallon of paint covers 400 to 500 sqft for flat surfaces, popcorn will require that, twice.
What You’ll Need to Paint a Popcorn Ceiling
Don’t think we forgot the tools you’ll need in our “How to paint a popcorn ceiling intensive course”. Here’s everything you should prepare for this DIY task:
- Ladder
- 5-gallon paint bucket
- Painter’s tape
- Angled brush
- Plastic sheeting
- Canvas drop cloths
Get ready to work, just follow our guide
Now that we’ve got materials covered, let’s move on to what we came here for: how to paint a popcorn ceiling.
#1. Protect your furniture
While a stain on your couch might be a fun story to tell to your friends, the main goal is to get most of the paint on the ceiling. So remove all furniture from the room, cover the floor with plastic sheeting, and tape the light fixtures.
#2. Protect yourself, test for asbestos
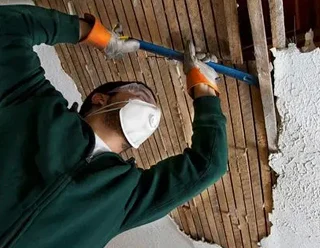
Before we get on how to paint a popcorn ceiling, this step is essential to ensure your safety. Test your ceiling for the threat of asbestos. You can either buy a kit to do it yourself, or request the service from a local testing company.
#3. Clean the surface for smooth results
Clean the surface to prepare it for the paint. Textured ceilings are a bit tricky to scrub, we know, but getting the cobwebs and dust is key to getting seamless results. You can use a brush or a cloth to perform this task.
#4. Handle those hard-to-reach corners first
The angled brush comes in handy for this step. Tape the walls to ensure clean, straight lines, and paint the corners of your ceiling. You can also use it to color around the ceiling lights or other objects.
#5. Painting time!
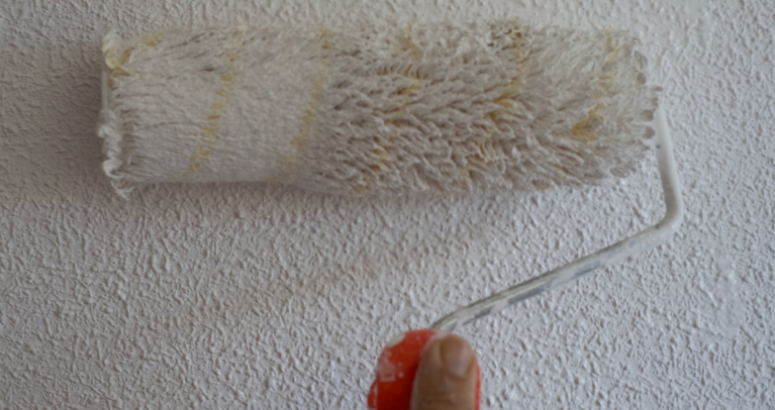
Now here’s the fun part of our “How to paint a popcorn ceiling step-by-step”. Start rolling the paint on the edge of your surface, covering 4 feet by 4 feet sections at a time. Continue until everything’s coated, but not dripping wet.
#6. Wait, dry and repeat
Get a fan or open windows to make the drying process quicker. Then, once the entire ceiling is dry, coat it a second time.
Get the help of specialists
There it is. A detailed, yet easy-to-follow step-by-step on how to paint a popcorn ceiling. But remember that painting your textured ceiling is a temporary fix to the problem and that DIYs take time.
So, to finally get rid of your old, yellow ceiling, without spending hours holed up in your home, you can let our experts at TexturesPro handle it. Enjoy your free time with your loved ones, while we take care of the rest. Get your free estimate now!
Give your home a fresh new look!
Tired of the popcorn ceiling in your home? Let our expert team remove it for you!


